
You can have the perfect training plan, the best shoes, and all the motivation in the world, but if your running form is off, you’ll either plateau or get injured.
Most runners never think about their form. They just run the way they’ve always run and wonder why:
- They can’t seem to get faster
- Their knees hurt after every run
- They feel like they’re working so hard but barely improving
Here’s the truth: Small changes to your running form can dramatically improve your speed, efficiency, and injury resilience.
I’ve analyzed hundreds of runners’ form over the years, and I see the same mistakes over and over. The good news? They’re all fixable.
Let’s break them down.
Why Running Form Matters
Running isn’t just about putting one foot in front of the other. It’s a skill, and like any skill, technique matters.
Good running form means:
→ You use less energy at the same pace (better running economy)
→ You reduce impact forces on your joints
→ You generate more power with each stride
→ You prevent compensation patterns that lead to injury
Poor running form means:
→ You waste energy with every step
→ You create excessive stress on joints and tissues
→ You’re more likely to develop overuse injuries
→ You plateau and can’t figure out why
The best part? You don’t need to completely overhaul how you run. Small adjustments make a massive difference.
Mistake #1: Overstriding
What It Looks Like
Your foot lands way out in front of your body with each step, creating a braking force as your heel hits the ground.
Why It’s a Problem
Every time your foot lands in front of you, you’re essentially hitting the brakes. This:
- Slows you down (you’re fighting against yourself)
- Sends massive impact forces up your leg
- Increases risk of shin splints, knee pain, and IT band issues
The Fix
Shorten your stride and increase your cadence.
Aim for 170-180 steps per minute. This naturally prevents overstriding because you don’t have time to reach your foot way out in front.
How to practice:
- Download a metronome app or find music at 170-180 BPM
- Run to the beat for short intervals
- Focus on quick, light steps (like running on hot coals)
You’ll feel like you’re taking tiny steps at first. That’s ok, this is what efficient running feels like.
Mistake #2: Heel Slamming
What It Looks Like
Landing hard on your heel with a straight leg, creating a loud “thud” with each step.
Why It’s a Problem
Not all heel striking is bad, many elite runners heel strike. But slamming your heel with a straight leg sends shock straight up your leg with no cushioning.
This is a fast track to:
- Shin splints
- Knee pain
- Hip issues
The Fix
Land softer with a slight bend in your knee.
Think about kissing the ground with your foot rather than stomping on it.
Cues to try:
- “Run quietly” – If you can hear yourself pounding, you’re landing too hard
- “Land with your knee slightly bent” – Creates a natural shock absorber
- “Foot under hips” – If your foot lands under your body (not in front), you’ll naturally land softer
How to practice:
- Run on a treadmill and listen to your footstrike
- Run on grass or trails where hard landings are obvious
- Video yourself from the side—watch your knee angle at landing
Mistake #3: Poor Posture
What It Looks Like
Hunched shoulders, looking down at the ground, leaning forward from the waist (not the ankles), collapsed core.
Why It’s a Problem
Poor posture restricts your breathing, reduces power, and creates tension throughout your body.
When you hunch forward, you:
- Compress your diaphragm (harder to breathe)
- Put extra stress on your lower back
- Reduce your running efficiency
The Fix
Run tall with a slight forward lean from the ankles.
Imagine a string pulling you up from the crown of your head. Your entire body should lean slightly forward, not from bending at the waist, but from your ankles.
Checklist for good posture:
- Eyes on the horizon (not staring at the ground 3 feet ahead)
- Shoulders back and down (not hunched toward your ears)
- Core engaged (not a six-pack clench, just gently braced)
- Chest open (so you can breathe fully)
How to practice:
- Every few minutes during your run, do a mental body scan
- Shake out your shoulders if they’re creeping up
- Look straight ahead at a focal point in the distance
Mistake #4: Arm Swing Issues
What It Looks Like
Arms crossing your body, hands clenched in tight fists, arms swinging wildly or barely moving at all.
Why It’s a Problem
Your arms balance your leg movement. When your arms cross your body, it causes your torso to rotate excessively, wasting energy and creating imbalances.
Tense, clenched hands create unnecessary tension up through your shoulders and neck.
The Fix
Drive your elbows straight back with relaxed hands.
Proper arm mechanics:
- Arms bent at about 90 degrees
- Swing forward and back (not across your body)
- Hands relaxed (imagine holding a crisp without crushing it)
- Elbows drive backward (this propels you forward)
Cue: “Punch backwards with your elbows”
Your hands shouldn’t cross the midline of your body. If you drew a vertical line down the center of your chest, your hands stay on their respective sides.
How to practice:
- Film yourself from the front, watch where your hands go
- Every few minutes, consciously relax your hands
- Practice the motion while standing still to build muscle memory
Mistake #5: Ignoring Cadence
What It Looks Like
Taking long, slow strides (often fewer than 160 steps per minute).
Why It’s a Problem
Low cadence usually means:
- Longer ground contact time (less efficient)
- Overstriding (see Mistake #1)
- More impact with each step
Elite runners typically maintain 170-180 steps per minute regardless of pace. This isn’t arbitrary—it’s the sweet spot for efficiency and injury prevention.
The Fix
Aim for 170-180 steps per minute.
This might feel unnaturally fast at first, especially if you’re currently around 150-160 spm.
How to practice:
- Use a metronome app or music at 170-180 BPM
- Start with short intervals (1-2 minutes)
- Gradually increase the duration
- Don’t worry about speed—you might actually run slower at first while you adjust
What happens when you increase cadence:
- Your stride naturally shortens
- You land more underneath your body
- Impact forces decrease
- Running feels lighter and more efficient
How to Actually Change Your Form
Knowing what to fix is one thing. Actually changing ingrained patterns is another.
Here’s my formula for making lasting changes:
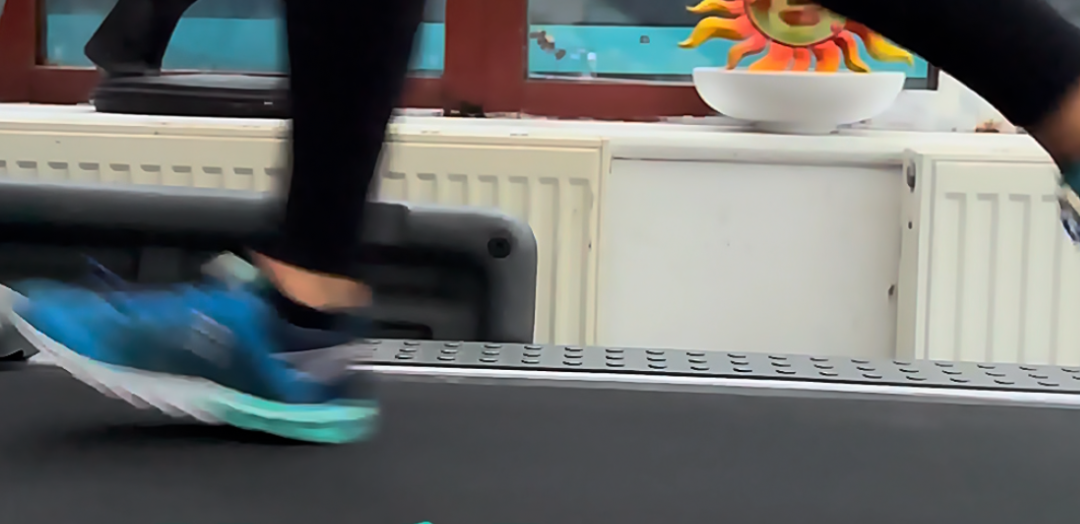
Step 1: Film Yourself
Take 10 seconds of video from the side and from behind. Watch it without judgment—just curiosity.
Identify the ONE thing that needs the most work.
Step 2: Pick One Cue
Don’t try to fix everything at once. Pick one specific cue to focus on.
Examples:
- “Quick, light steps”
- “Run tall”
- “Elbows back”
- “Land quiet”
Step 3: Practice in Short Bursts
During your easy runs, focus on your chosen cue for 1-2 minutes at a time. Then relax and run normally.
Repeat this 4-5 times throughout your run.
Step 4: Be Patient
Form changes take weeks (sometimes months) to become automatic. Your body has been running a certain way for years—give it time to adapt.
Film yourself every 2-3 weeks to track progress.
When to Get Professional Form Analysis
Self-filming is great, but sometimes you need expert eyes on your form.
Consider professional analysis if:
- You keep getting injured in the same spot
- You’ve tried fixing your form but aren’t seeing improvement
- You’re training for a specific race and want to maximize efficiency
- You just want personalized guidance
That’s exactly what I offer in my 1-1 coaching: video form analysis at the beginning, midpoint, and end of your program, with specific drills and cues to address your unique issues.
Your Action Plan
- Film yourself running for 10 seconds (side view and back view)
- Identify your biggest form issue from the list above
- Pick ONE cue to work on for the next two weeks
- Practice that cue in 1-2 minute intervals during easy runs
- Film yourself again in two weeks to check progress
Small changes, big results.
Natalie
Leave a Reply